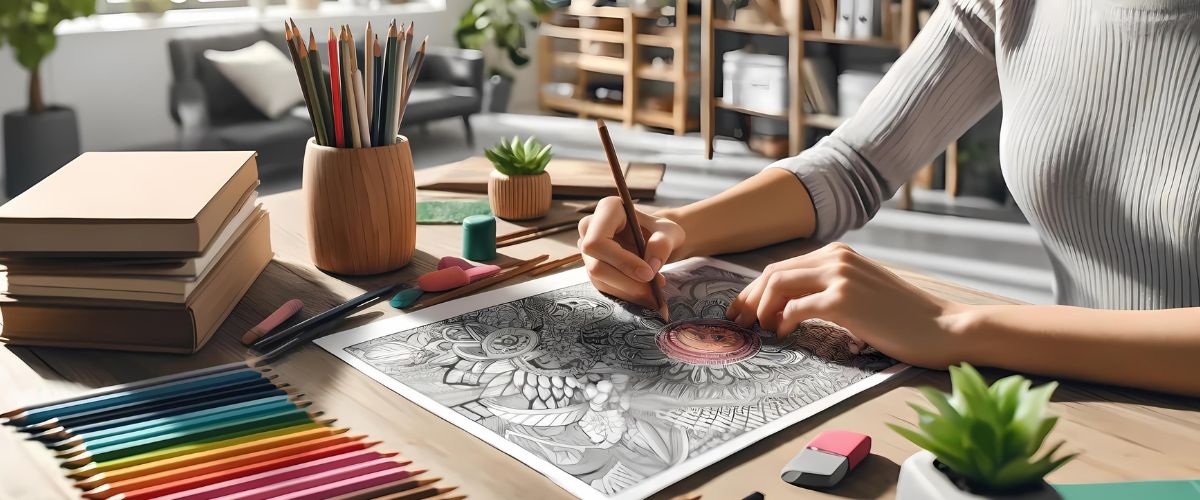
Layering with colored pencils is an essential technique for creating depth, richness, and dimension in your artwork. This guide, inspired by common techniques and practices in the art community, provides beginners with the fundamentals of layering to enhance their coloring skills.
Introduction
Layering involves applying multiple layers of colored pencil to build up color, create texture, and add depth to your drawings. It’s a versatile technique that can produce a wide range of effects, from smooth gradients to intricate details. Whether you’re new to coloring or looking to improve your skills, mastering layering will significantly enhance your artwork.
Essential Tools and Materials
Colored Pencils
Choosing the right colored pencils is crucial for successful layering. Here are some recommended types:
- Wax-Based Pencils: Such as Prismacolor Premier, which offer a smooth application and vibrant colors.
- Oil-Based Pencils: Like Faber-Castell Polychromos, known for their durability and ability to layer well.
- Watercolor Pencils: Can be used dry or with water to achieve different effects.
Paper
The quality of your paper can greatly impact the effectiveness of your layering. Look for thick, smooth paper that can handle multiple layers without tearing or warping. Textured paper can also add interesting effects to your work.
Additional Tools
- Sharpener: A good-quality sharpener keeps your pencils in optimal condition for precise coloring.
- Eraser: A soft eraser helps correct mistakes without damaging the paper.
- Blending Tools: Blending stumps, tortillons, or colorless blender pencils can smooth out layers and create seamless transitions.
Basic Layering Techniques
Light to Dark
Start with light pressure and gradually increase it as you add more layers. This technique helps build up color slowly and prevents the wax or oil from the pencils from becoming too heavy on the paper.
Steps:
- Base Layer: Apply a light layer of your base color with minimal pressure.
- Building Layers: Add subsequent layers with slightly more pressure, using darker shades to create depth.
- Final Details: Use the darkest shades with the most pressure to add fine details and enhance contrast.
Cross-Hatching
Cross-hatching involves layering lines in different directions to build up color and texture. This technique is particularly useful for adding texture and dimension to your drawings.
Steps:
- First Layer: Apply lines in one direction with light pressure.
- Second Layer: Add another layer of lines in a perpendicular direction.
- Additional Layers: Continue adding layers in different directions to build up color and texture.
Burnishing
Burnishing involves applying heavy pressure with a light-colored pencil or a colorless blender to smooth out and blend layers. This technique can create a polished, almost paint-like finish.
Steps:
- Initial Layers: Apply multiple layers of color with light to moderate pressure.
- Burnishing Layer: Use a light-colored pencil or colorless blender with heavy pressure to blend and smooth the layers.
Advanced Layering Techniques
Gradient Blending
Creating smooth gradients involves transitioning from one color to another seamlessly. This technique adds depth and realism to your work.
Steps:
- First Color: Apply the first color with light to moderate pressure.
- Transition Color: Gradually blend in the second color, overlapping the first color slightly.
- Final Color: Add the final color, ensuring a smooth transition between all colors.
Texturing
Adding texture with layering can bring your drawings to life. Experiment with different strokes and techniques to create effects like fur, wood grain, or fabric.
Examples:
- Stippling: Use small dots to build up color and texture.
- Directional Strokes: Apply strokes in the direction of the texture you’re trying to mimic, such as the grain of wood or the flow of hair.
Tips for Successful Layering
- Use Sharp Pencils: Keep your pencils sharp for precise application and better control.
- Practice Patience: Layering takes time and patience. Don’t rush the process.
- Experiment with Colors: Don’t be afraid to mix and match colors to see what effects you can create.
- Stay Relaxed: Enjoy the process and remember that practice makes perfect.
FAQs
What type of paper is best for layering with colored pencils?
Thick, smooth paper is best as it can handle multiple layers of color without tearing.
How do I avoid wax bloom?
Wax bloom can be avoided by applying lighter layers and using a fixative spray to set your work.
Can I layer with watercolor pencils?
Yes, you can layer with watercolor pencils. Use them dry for traditional layering or add water for a different effect.
How do I fix mistakes in my layering?
Use a soft eraser to gently lift the color. For minor adjustments, you can also layer over the mistake with a different color.
Is it necessary to use blending tools?
Blending tools can enhance the smoothness of your layers, but they are not necessary. You can achieve great results with just your pencils.
Conclusion
Layering with colored pencils is a fundamental technique that can greatly enhance the depth and richness of your artwork. By practicing the techniques outlined in this guide, you can create stunning, vibrant pieces that showcase your creativity and skill. Remember to take your time, experiment with different colors and textures, and most importantly, enjoy the process.
For more tips on coloring and to explore other coloring techniques, check out our detailed guides and recommendations on No Life Is Ordinary.


